





Share your love
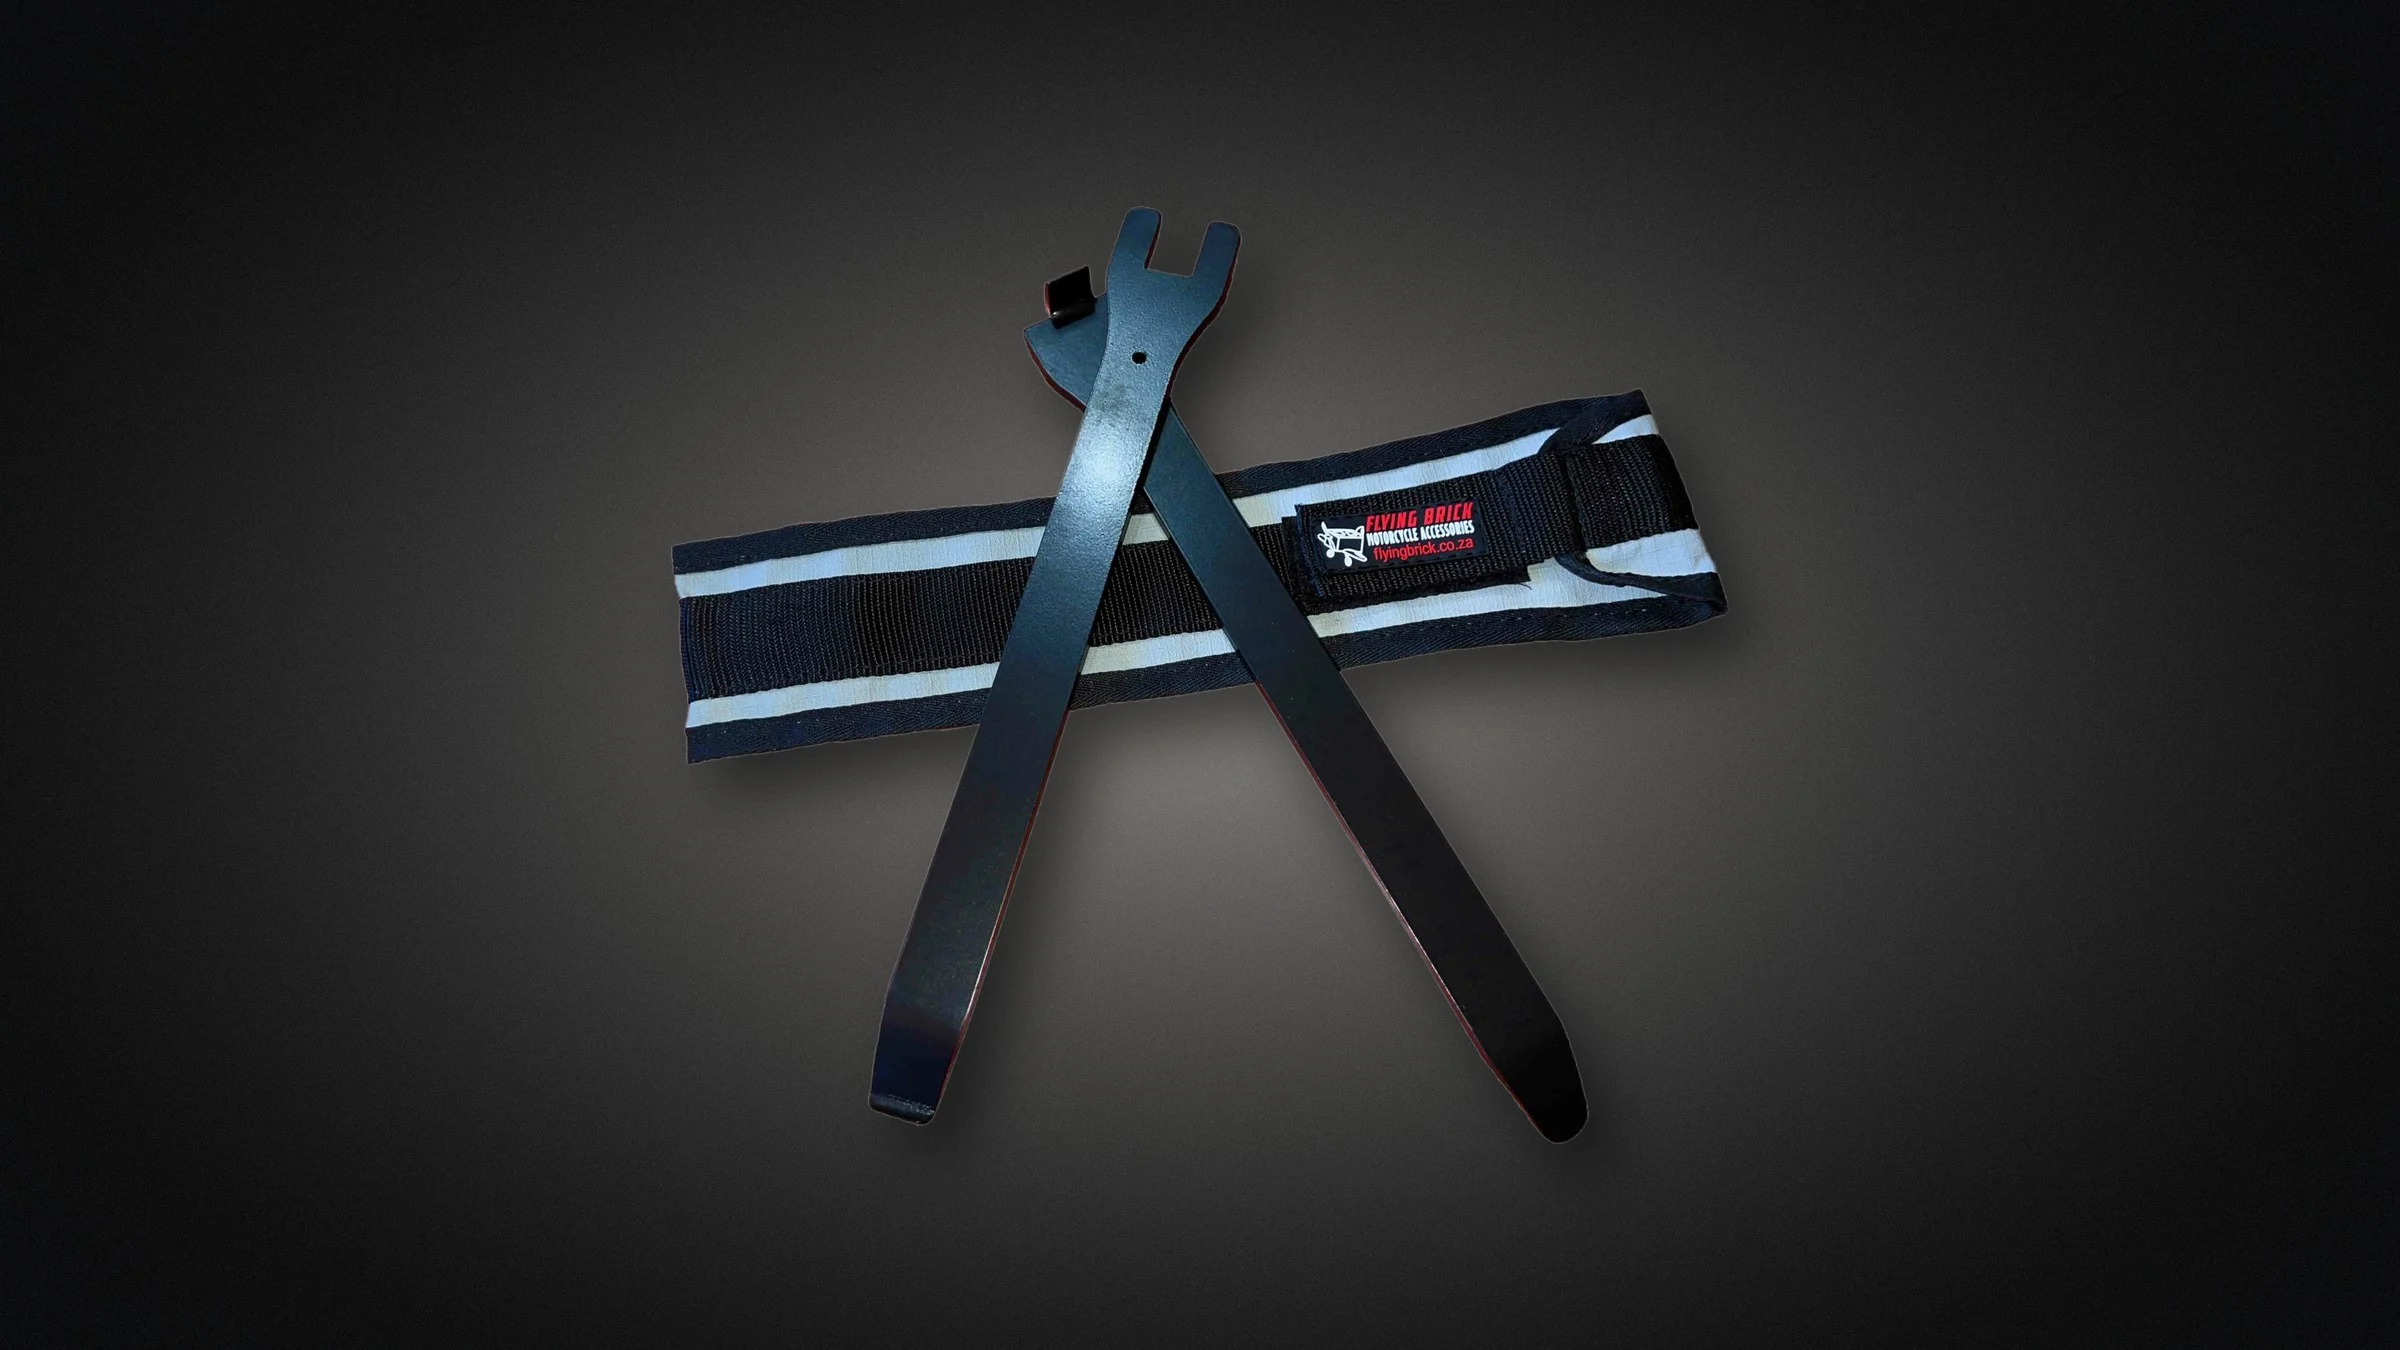
BeadMaster Bead Breakers: The Ultimate Tool for Easy Tyre Removal
Motorcycle tyres are notoriously difficult to remove. This tool makes it easy to break the bead off the rim and remove the tyre.
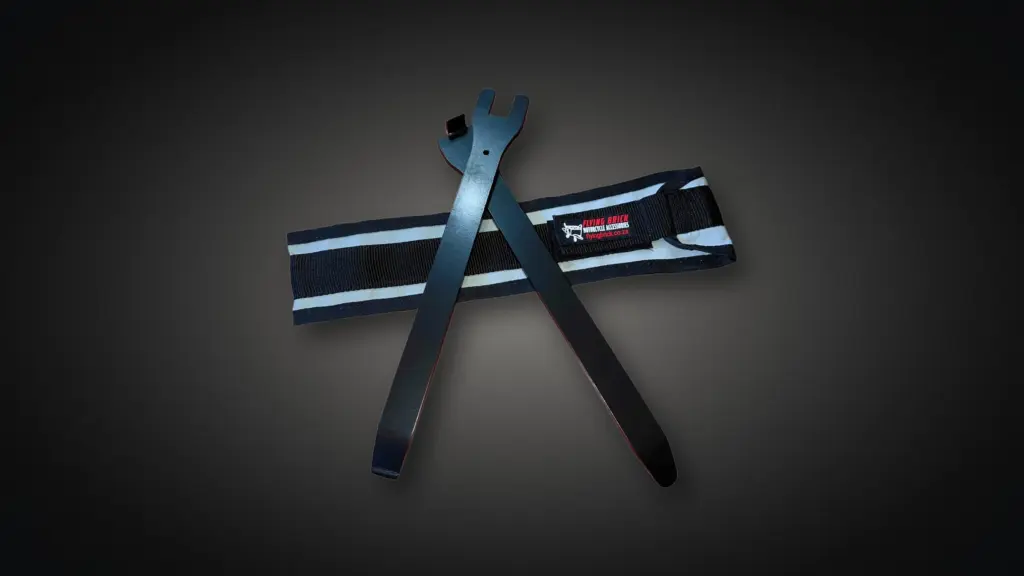
Every adventure rider gets a flat eventually, and it is rarely on a quiet afternoon in the garage. More often it is on a gravel road two hours from the nearest town, with the sun going down and a tyre that refuses to come off the rim. The puncture itself is usually simple to fix. Getting to it is the hard part.
When you’re out on an adventure, having the right tools for tyre maintenance can make all the difference. The BeadMaster Bead Breakers are the perfect set of tyre levers needed to fix punctures and remove tyres with ease. With bead breakers on one side and tyre levers on the other, this tool is designed for both convenience and durability.
Why the bead is the hard part
The bead is the stiff, reinforced edge of the tyre that sits in the bead seat on each side of the rim. Air pressure pushes it hard against the rim, and after months of heat, dust and road grime it can stick there so firmly that no amount of pulling by hand will move it. Before a tyre can come off, both beads have to be pushed off their seats and into the drop centre, the deeper well in the middle of the rim. That is what breaking the bead means, and until it is done, tyre levers have nothing to work with.
Off-road and adventure tyres make the job harder still. Knobblies have tough sidewalls, and tubeless tyres are designed to seat tightly, which is exactly what keeps them on the rim when you air down for sand. At the roadside, riders improvise: standing on the tyre, pressing the bead down with a friend’s side stand, or driving over the sidewall with the support vehicle. Sometimes it works. Often it ends with a damaged disc or rim, a torn bead or a very sore back.
You will need to break a bead more often than you might think. On a tubed tyre, every puncture means taking the tube out, so the bead has to come off. On a tubeless tyre, a plug will often fix a nail in the tread without removing anything, but a cut sidewall, a slow leak at the rim or fitting a tube to get yourself home all mean breaking the bead in the field.
What makes the BeadMaster different
Crafted specifically to tackle tough motorcycle tyre beads, the BeadMaster levers ensure swift puncture repairs and hassle-free tyre removal and reinstallation. One of the standout features of this set is the 90-degree bend, which replaces the traditional 45-degree bend to give you extra leverage. This design choice makes bead breaking more efficient, especially in challenging situations.
Additionally, one of the levers features a return-bend that reduces the risk of pinching your tubes when reinstalling the tyre, a common problem when using standard tools.
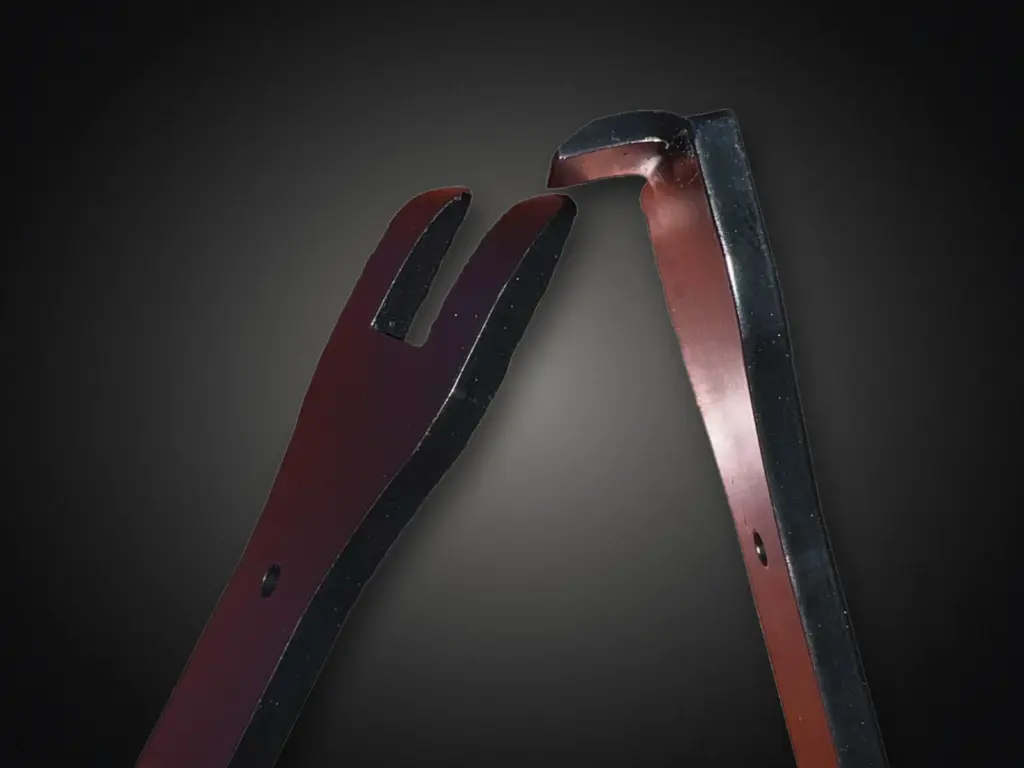
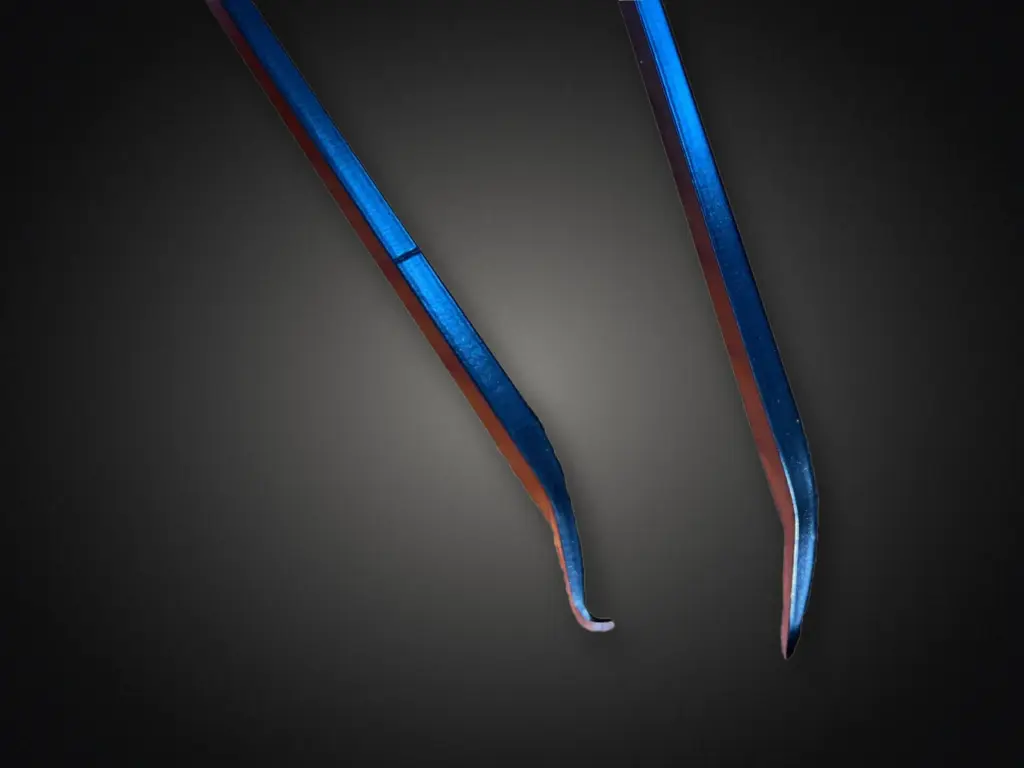
The levers are made from Domex 700, a high-strength structural steel from the Swedish steelmaker SSAB with a minimum yield strength of about 700 MPa, nearly three times that of ordinary mild steel. That matters when you are putting your full weight on a lever against a stubborn bead: a lever that flexes wastes your effort, and one that bends is useless. Each lever is 335 mm long and the pair weighs 860 g. That is heavier than a set of light aluminium tyre levers, but every end of the pair does a job, so you carry bead breakers and tyre levers in one.
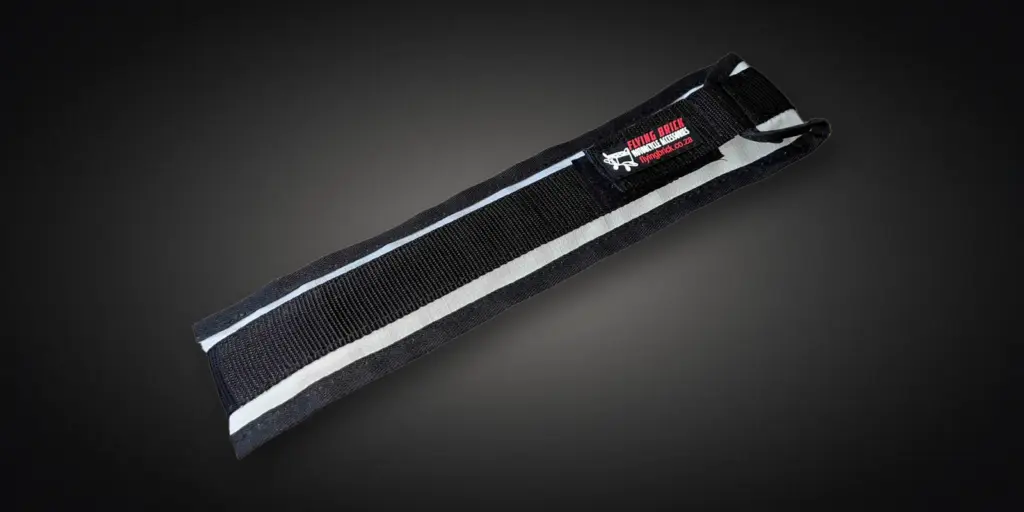
The BeadMaster set comes with a convenient carry/storage bag made from durable Rip-Stop material, perfect for stowing your tools while travelling. The two levers nest inside each other, forming a slim, easy-to-pack profile. The bag is also fitted with Molle loops for attachment to your gear or bike.
The BeadMaster Bead Breakers are not only great for trail use but also for your home workshop. Their sturdy construction and ergonomic design make them reliable for any situation. Whether you’re dealing with a flat tyre or performing routine maintenance, these levers are just the right size for easy handling without sacrificing leverage. You can see these levers in action in the video below.
Key features of the BeadMaster Bead Breaker:
- Bead-Breaking Assistance: Effortlessly break tough tyre beads with precision.
- 90-degree Bend: Provides optimal leverage for more efficient bead breaking.
- Shaped Ends: Designed to slide smoothly between the tyre and rim.
- Pinch-Prevention Design: Reduces the risk of pinching inner tubes during reinstallation.
- High-Strength Construction: Crafted from Domex 700 steel for maximum durability.
- Proudly South African: Manufactured with precision and quality in South Africa.
- Storage Bag: Comes with a Rip-Stop storage bag for easy transport.
How to break a bead and change a tyre
The technique matters as much as the tool, and it is worth practising at home before you need it on the trail. Start by letting all the air out: remove the valve core with a valve core tool so the tyre goes completely flat. On a tubed wheel, undo the rim lock nut and push the rim lock up into the tyre so it no longer clamps the bead.
Lay the wheel on its side with the brake disc facing up, so the disc never carries your weight. Work the bead-breaker end against the sidewall right next to the rim and use the length of the lever to push the bead off its seat and down into the drop centre. Move a hand’s width along the tyre and repeat until the whole bead has come free, then turn the wheel over and do the other side. A little soapy water on the bead makes everything easier.
With both beads broken, start removing the tyre opposite the valve. Push the bead on the far side of the wheel down into the drop centre, which gives you the slack you need, then use the tyre-lever ends to lift the bead over the rim in small bites a few centimetres apart. Big bites are what bend levers, tear beads and pinch tubes. Once one side is off, push the valve up into the tyre and pull the tube out.
Refitting is the same job in reverse. Put a little air in the tube so it holds its shape and does not twist, fit the valve first, and lever the bead back on in small bites, keeping the opposite side in the drop centre. This is where the return-bend earns its place, because it keeps the lever from trapping the tube against the rim. Inflate until the bead pops onto its seat all the way round (the moulded line on the sidewall should sit an even distance above the rim), then set your pressures and refit the valve core and the rim lock nut.
What else to carry in your puncture kit
Bead breakers and levers are only part of a puncture kit. For a tubed bike, carry a spare tube in the right size (a front tube can get you home in the rear at a pinch), a patch kit, a valve core tool and a way to inflate, either a compact pump or CO2 cartridges, ideally with a pressure gauge. For tubeless tyres, add a plug kit. A small bottle of soapy water or tyre lube, a rag and a pair of gloves make the job quicker and cleaner. Most important of all, do the whole job once at home, so that the first time is not in the dark at the side of the road.
Price and where to buy
The BeadMaster Bead Breakers are made in South Africa by Flying Brick Motorcycle Accessories and cost R1,095 at the time of writing (October 2026), supplied with the Rip-Stop carry bag. They are available from the Flying Brick store in Paarden Eiland, Cape Town, and online at flyingbrick.co.za, which ships nationally and worldwide.
Upgrade your tyre maintenance toolkit today with the BeadMaster Bead Breakers, engineered for superior performance, durability, and ease of use. Say goodbye to the struggle of tyre removal and get back on the road faster with this essential tool!
Visit the Flying Brick store at 8 Shropshire Street, Paarden Eiland, Cape Town, call the shop on 021 510 6455, or call or WhatsApp 067 278 1893.